How to Use Dice Art Generator: Convert Any Photo to Dice Art Step by Step
You've probably seen one before — a mosaic made from hundreds or thousands of dice, looking like a blurry photograph from across the room, but up close revealing a grid of numbered dots. This art form has been spreading across social media for a reason: it combines the warmth of handcraft with the precision of an algorithm, two aesthetics that rarely share the same canvas.
What makes it accessible to everyone is the Dice Art Generator — an online tool that automatically converts any photo into a complete dice mosaic layout. No image processing knowledge required. No manual calculation of which way each die should face. You upload a photo; the tool handles all the math.
This guide walks you through the entire process from start to finish: what a Dice Art Generator actually does, how to choose the right photo, which parameters matter and why, how to download your blueprint, and three real-world examples to show what's possible.
What Is a Dice Art Generator
A Dice Art Generator is an image-processing tool with one core function: automatically converting a photograph into a dice mosaic placement plan.
The logic is straightforward. The tool divides your photo into a grid of equal-sized cells, analyzes the average grayscale value within each cell, and maps that value to one of the six dice faces — fewer dots for darker areas, more dots for lighter ones. The result is a complete layout chart that tells you exactly which die face to place in every row and column.
The entire conversion runs in your browser. No server upload delay, no waiting — adjust any parameter and the preview updates in real time.
Compared to designing a dice mosaic by hand, a Dice Art Generator offers three clear advantages:
- Precision: The algorithm selects the optimal die face for each position based on actual grayscale calculations, not eye judgment
- Flexibility: Adjust dice count, color mode, brightness and contrast — every change reflects instantly in the preview
- Exportable: Generates a printable CSV blueprint that guides your physical assembly die by die
How to Upload a Photo and Generate Your Dice Art
Step 1: Choose the Right Photo
Your photo choice is the single most important decision in the process. Dice art is fundamentally a grayscale mosaic — not every photo translates well.
Photos that work well share these characteristics:
- Clear subject, clean background — portraits and close-up pet shots produce the most consistent results. The larger the subject fills the frame, the higher the recognizability after conversion. Avoid photos where the subject blends into the background.
- Even lighting, natural tonal gradation — outdoor natural light is usually ideal. Strong backlighting, overexposure, or large shadowed areas cause grayscale information to collapse.
- Moderate contrast — high-contrast photos (studio black-and-white shots, for example) produce crisp tonal layers; low-contrast photos (misty landscapes, overcast skies) tend to flatten into gray uniformity.
- High enough resolution — 500×500 pixels minimum is recommended. The sharper the source image, the richer the detail after conversion.
Photos to approach with caution:
- Backlit silhouettes — facial detail is absent; the dice version will be largely blank
- Group shots where every face is small — limited dice count means small faces will blur entirely during conversion
- Photos with very busy backgrounds — visual clutter competes with the subject for dice resources, reducing overall legibility
A quick test: shrink the candidate photo to one quarter of your phone screen. If the subject is still clearly recognizable at that size, the photo will work well as dice art.
Step 2: Upload and Crop
Open DiceArt.me and click the upload area, or drag your photo directly onto the page.
After uploading, a cropping interface appears. Use this step to remove excess background and let the subject fill as much of the frame as possible. A square (1:1) crop ratio usually produces the most visually balanced result.
Step 3: Preview the Conversion in Real Time
Once you confirm the crop, the Dice Art Generator immediately renders a preview. The preview is live — any parameter adjustment you make will be reflected within seconds, without re-uploading.
Two preview modes are available:
- Grayscale block preview: each cell shown as a gray square at the appropriate brightness, useful for quickly checking overall tonal distribution
- Dice render preview: shows actual die faces in each position, exactly as the finished piece will look
Adjusting Parameters: Dice Count, Color, and Size
This is the part of the process worth spending time on. Different combinations of these three parameters produce very different visual results.
Dice Count (Size)
Dice count determines the physical size of the finished piece and how much detail it can hold.
| Size | Dice Count | Physical Dimensions | Best For |
|---|---|---|---|
| Small | 2,400 (40×60) | 40×60 cm | Personal gifts, bedroom or study wall art, first-time projects |
| Medium | 5,400 (60×90) | 60×90 cm | Living room feature wall, significant gifts, display-quality pieces |
| Large | 9,600 (80×120) | 80×120 cm | Large home installations, commercial display, art exhibition |
Each die is 1 cm per side. The 2:3 aspect ratio hangs on a wall like a standard photo frame — more visually balanced than a square piece.
Practical recommendation: For a first project, start with the Small size (40×60 cm). The 2,400-die workload is completable over a weekend, the finished piece makes a genuine visual impact on a wall, and the level of detail is far more than most people expect when they imagine "dice art."
Larger sizes add more detail, but the time and dice cost scale accordingly. Large pieces are better suited as permanent display works than as first attempts.
Dice Color (Black / White)
The generator supports two color modes:
White dice (black pips)
- Bright overall tone, the more common choice
- Works best in white or light-colored display environments
- Easier to source physically; widely available
Black dice (white pips)
- High-contrast dark aesthetic, more dramatic feel
- Suited to bold or edgy display styles
- Some photos convert surprisingly well with the color mode inverted
Switching tip: Toggle between both modes in the preview and compare before committing. Some photos have better tonal depth on white; others pop more on black — trust the preview over any general rule.
Brightness and Contrast
If the photo reads as too dark, too bright, or lacking mid-tones, fine-tune these two settings:
- Brightness: Lifts or lowers the overall tone. If the source image is underexposed, a slight boost helps — but excessive brightening erases dark-area detail.
- Contrast: Expands the gap between light and dark areas. Increasing contrast sharpens tonal separation and clarifies the subject's outline.
Calibration logic: look at the darkest and brightest areas in the preview. If the darkest zone is pure black (all 1-pip dice) and the brightest is pure white (all 6-pip dice), contrast is already too high — pull it back. The ideal state is a full spread of die faces from darkest to lightest, with rich grayscale coverage throughout.
Downloading and Saving Your Blueprint
When the preview looks right, click "Download Blueprint" to get your dice placement plan.
The downloaded file is in CSV format — a complete matrix of numbers, where each cell contains the die face (0–6) to place at that position. Working through the row and column numbering, you assemble left to right, top to bottom, without losing your place.
Three ways to use the blueprint:
- Print and reference during assembly: Import the CSV into Excel or Google Sheets, set a readable font size, and print it out. Keep it beside your work surface and check off each cell as you place the die.
- Use on a phone screen: Open the CSV in a spreadsheet app, zoom in so one row is visible at a time, and work through it without a printer.
- Work in sections: Divide the blueprint into 5×5 or 10×10 blocks, mark each block as complete, and avoid losing your position during long assembly sessions.
Real-World Examples
Here are three templates from the DiceArt library — three categories that show what the generator handles well. Each can be loaded directly to preview the conversion.
Example 1: Mona Lisa — A Classic Artwork Rendered in Dice
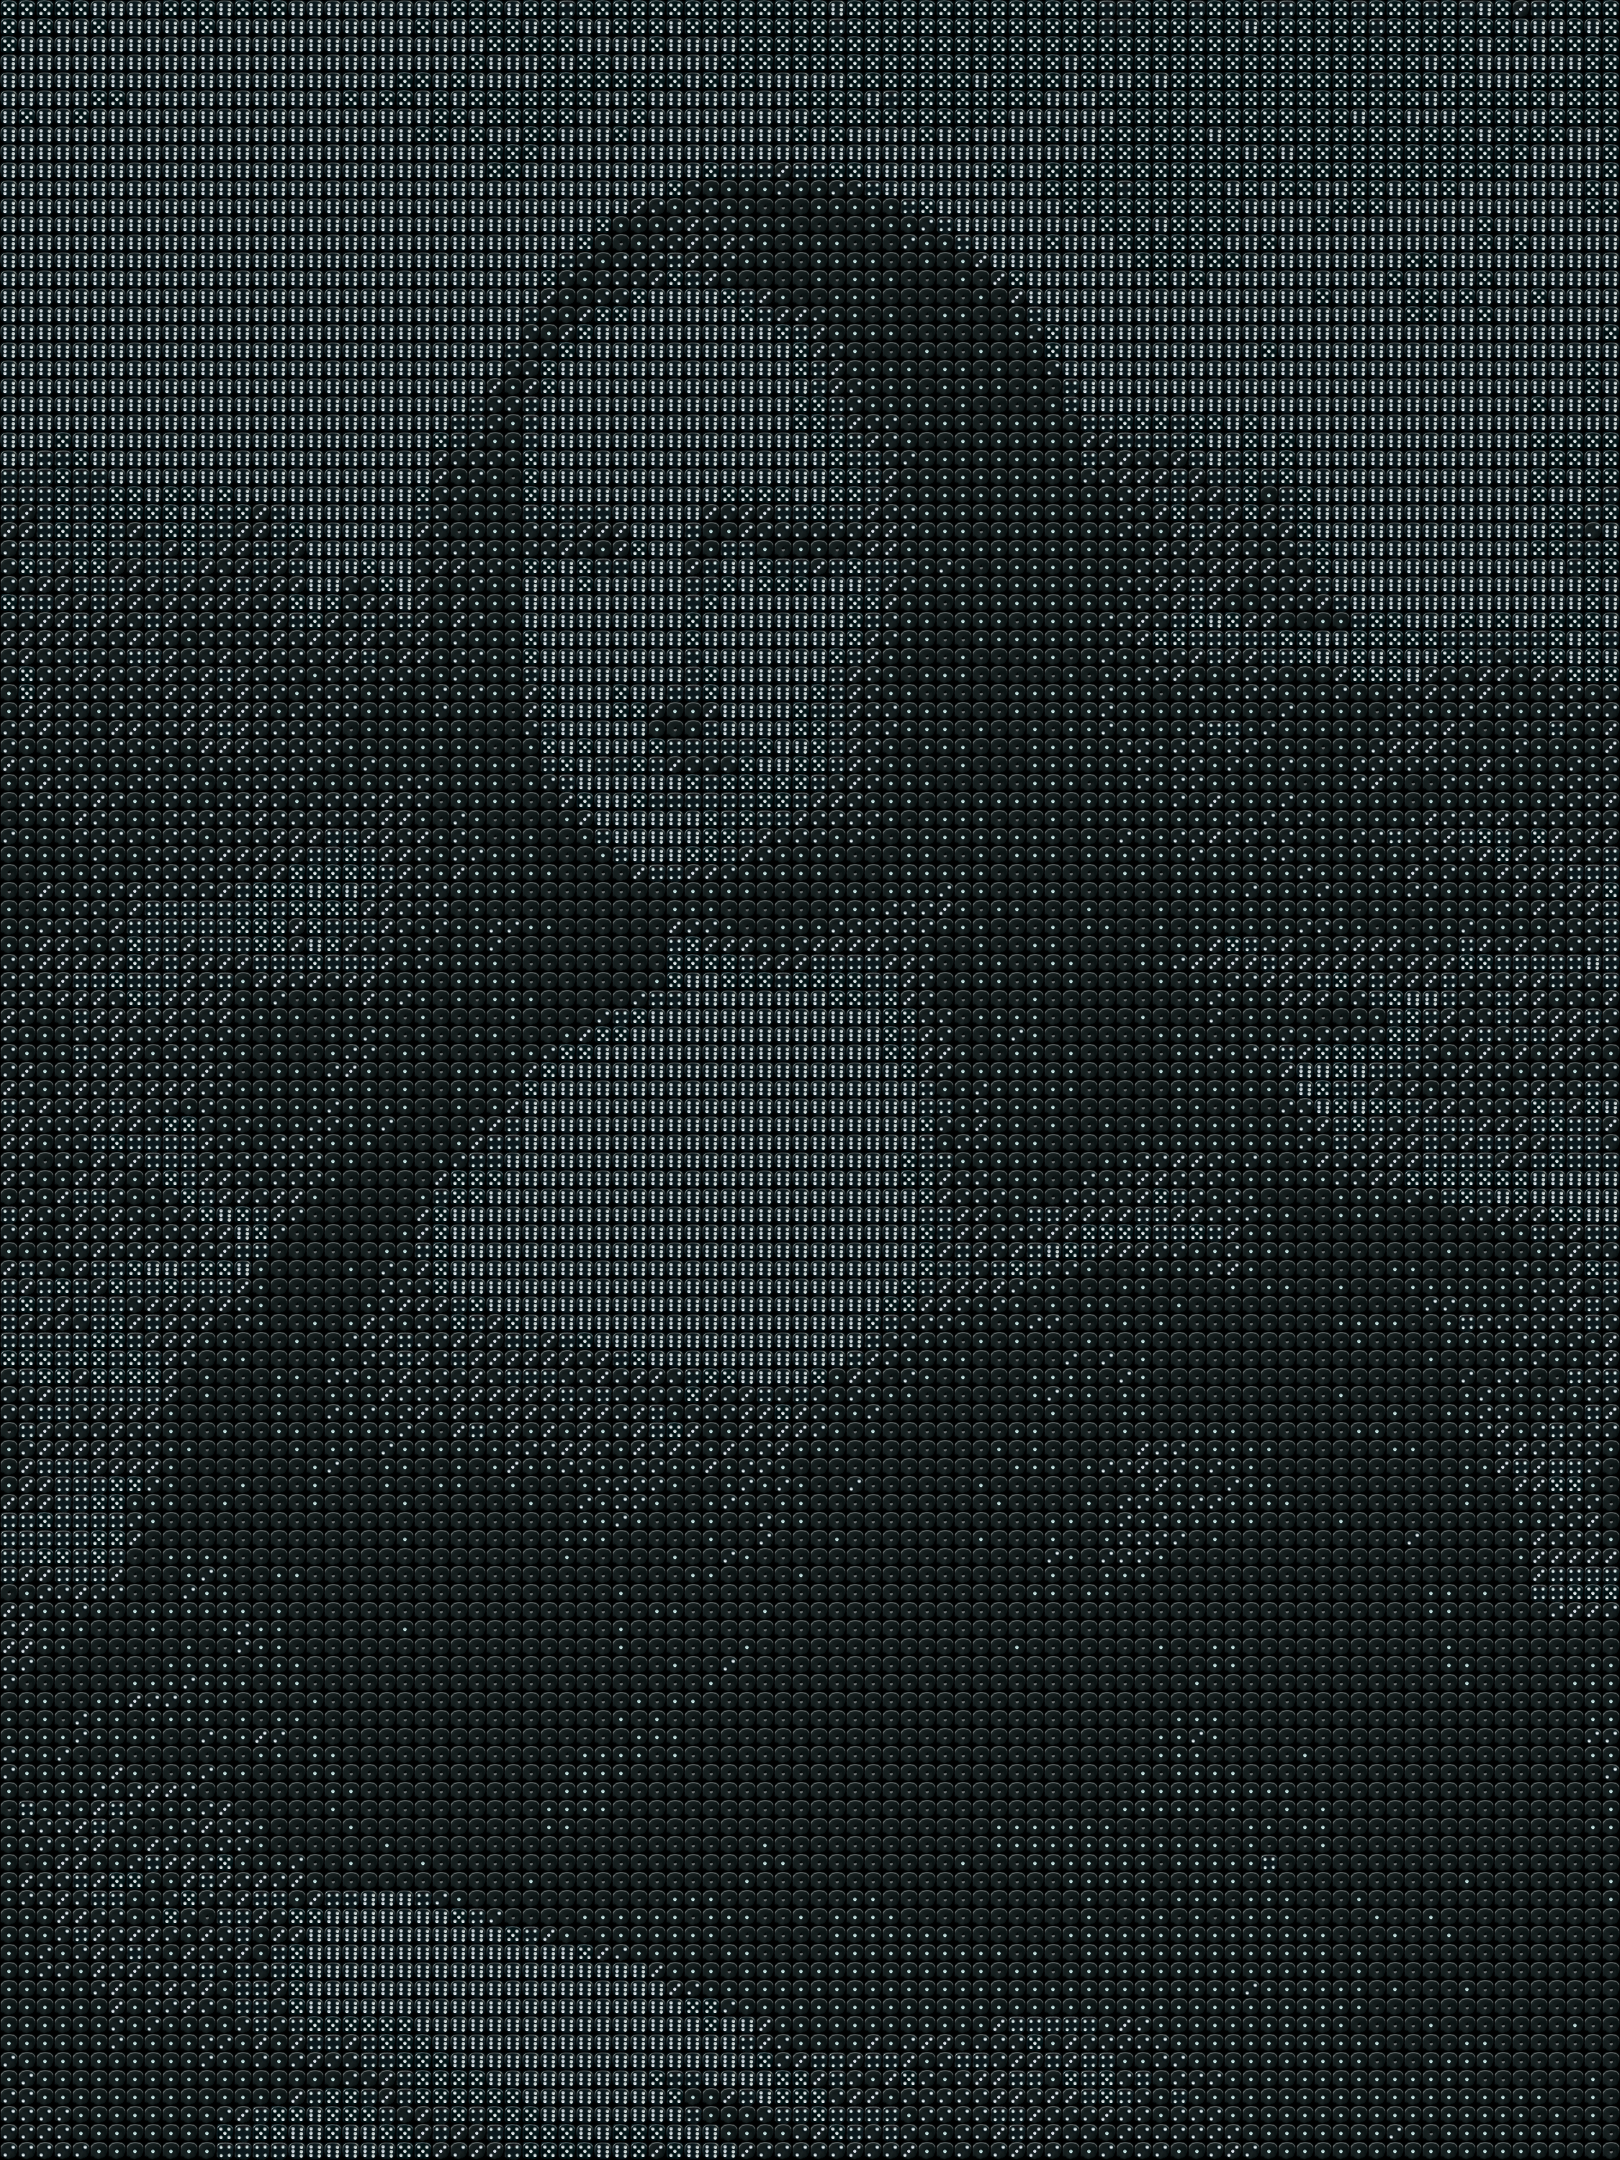
Homage to da Vinci — the world's most mysterious smile, rebuilt in dice
The Mona Lisa is an ideal test case for what a Dice Art Generator can do with a richly tonal source. The painting's subtle gradients across the face, the atmospheric depth of the background — all of it translates into die face distributions with remarkable fidelity. Standing in front of the finished piece, you see the painting from a distance. Step closer, and it dissolves into a precise grid of numbered dice.
- Dice required: 10,800
- Estimated time: ~20 hours
- Difficulty: 4/5
Example 2: Kobe Bryant — A Portrait at Maximum Resolution
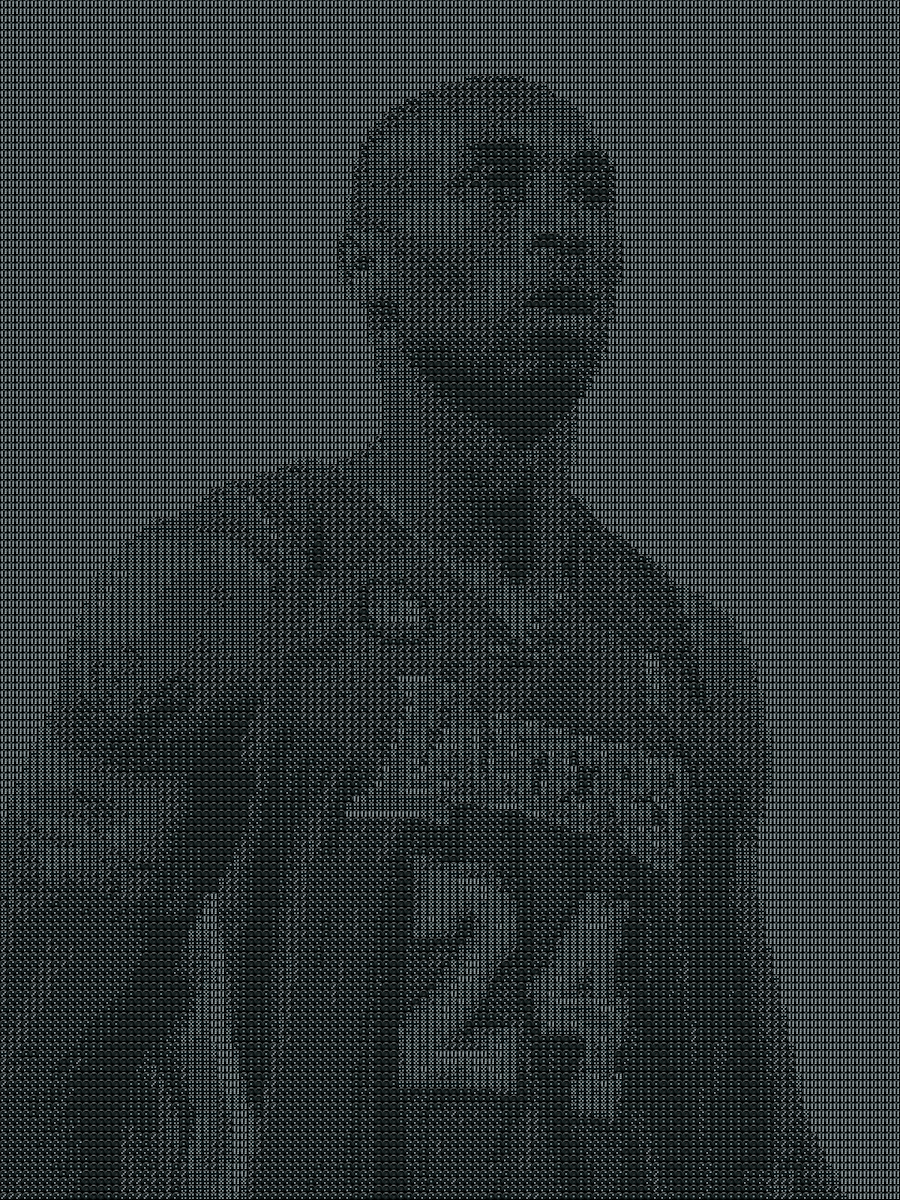
Tribute to the Black Mamba — capturing Kobe's legendary spirit in dice
Athletes make ideal portrait subjects for dice art. Kobe's high-contrast facial structure, the intensity of his expression, the sharp interplay of light and shadow — every element gives the die placement algorithm exactly what it needs. This piece demonstrates what becomes possible when the subject carries genuine visual power: the finished work isn't just decorative. It's a physical embodiment of something that mattered.
- Dice required: 19,200
- Estimated time: ~20 hours
- Difficulty: 5/5
Example 3: Pikachu — Character Art and IP in Dice Form
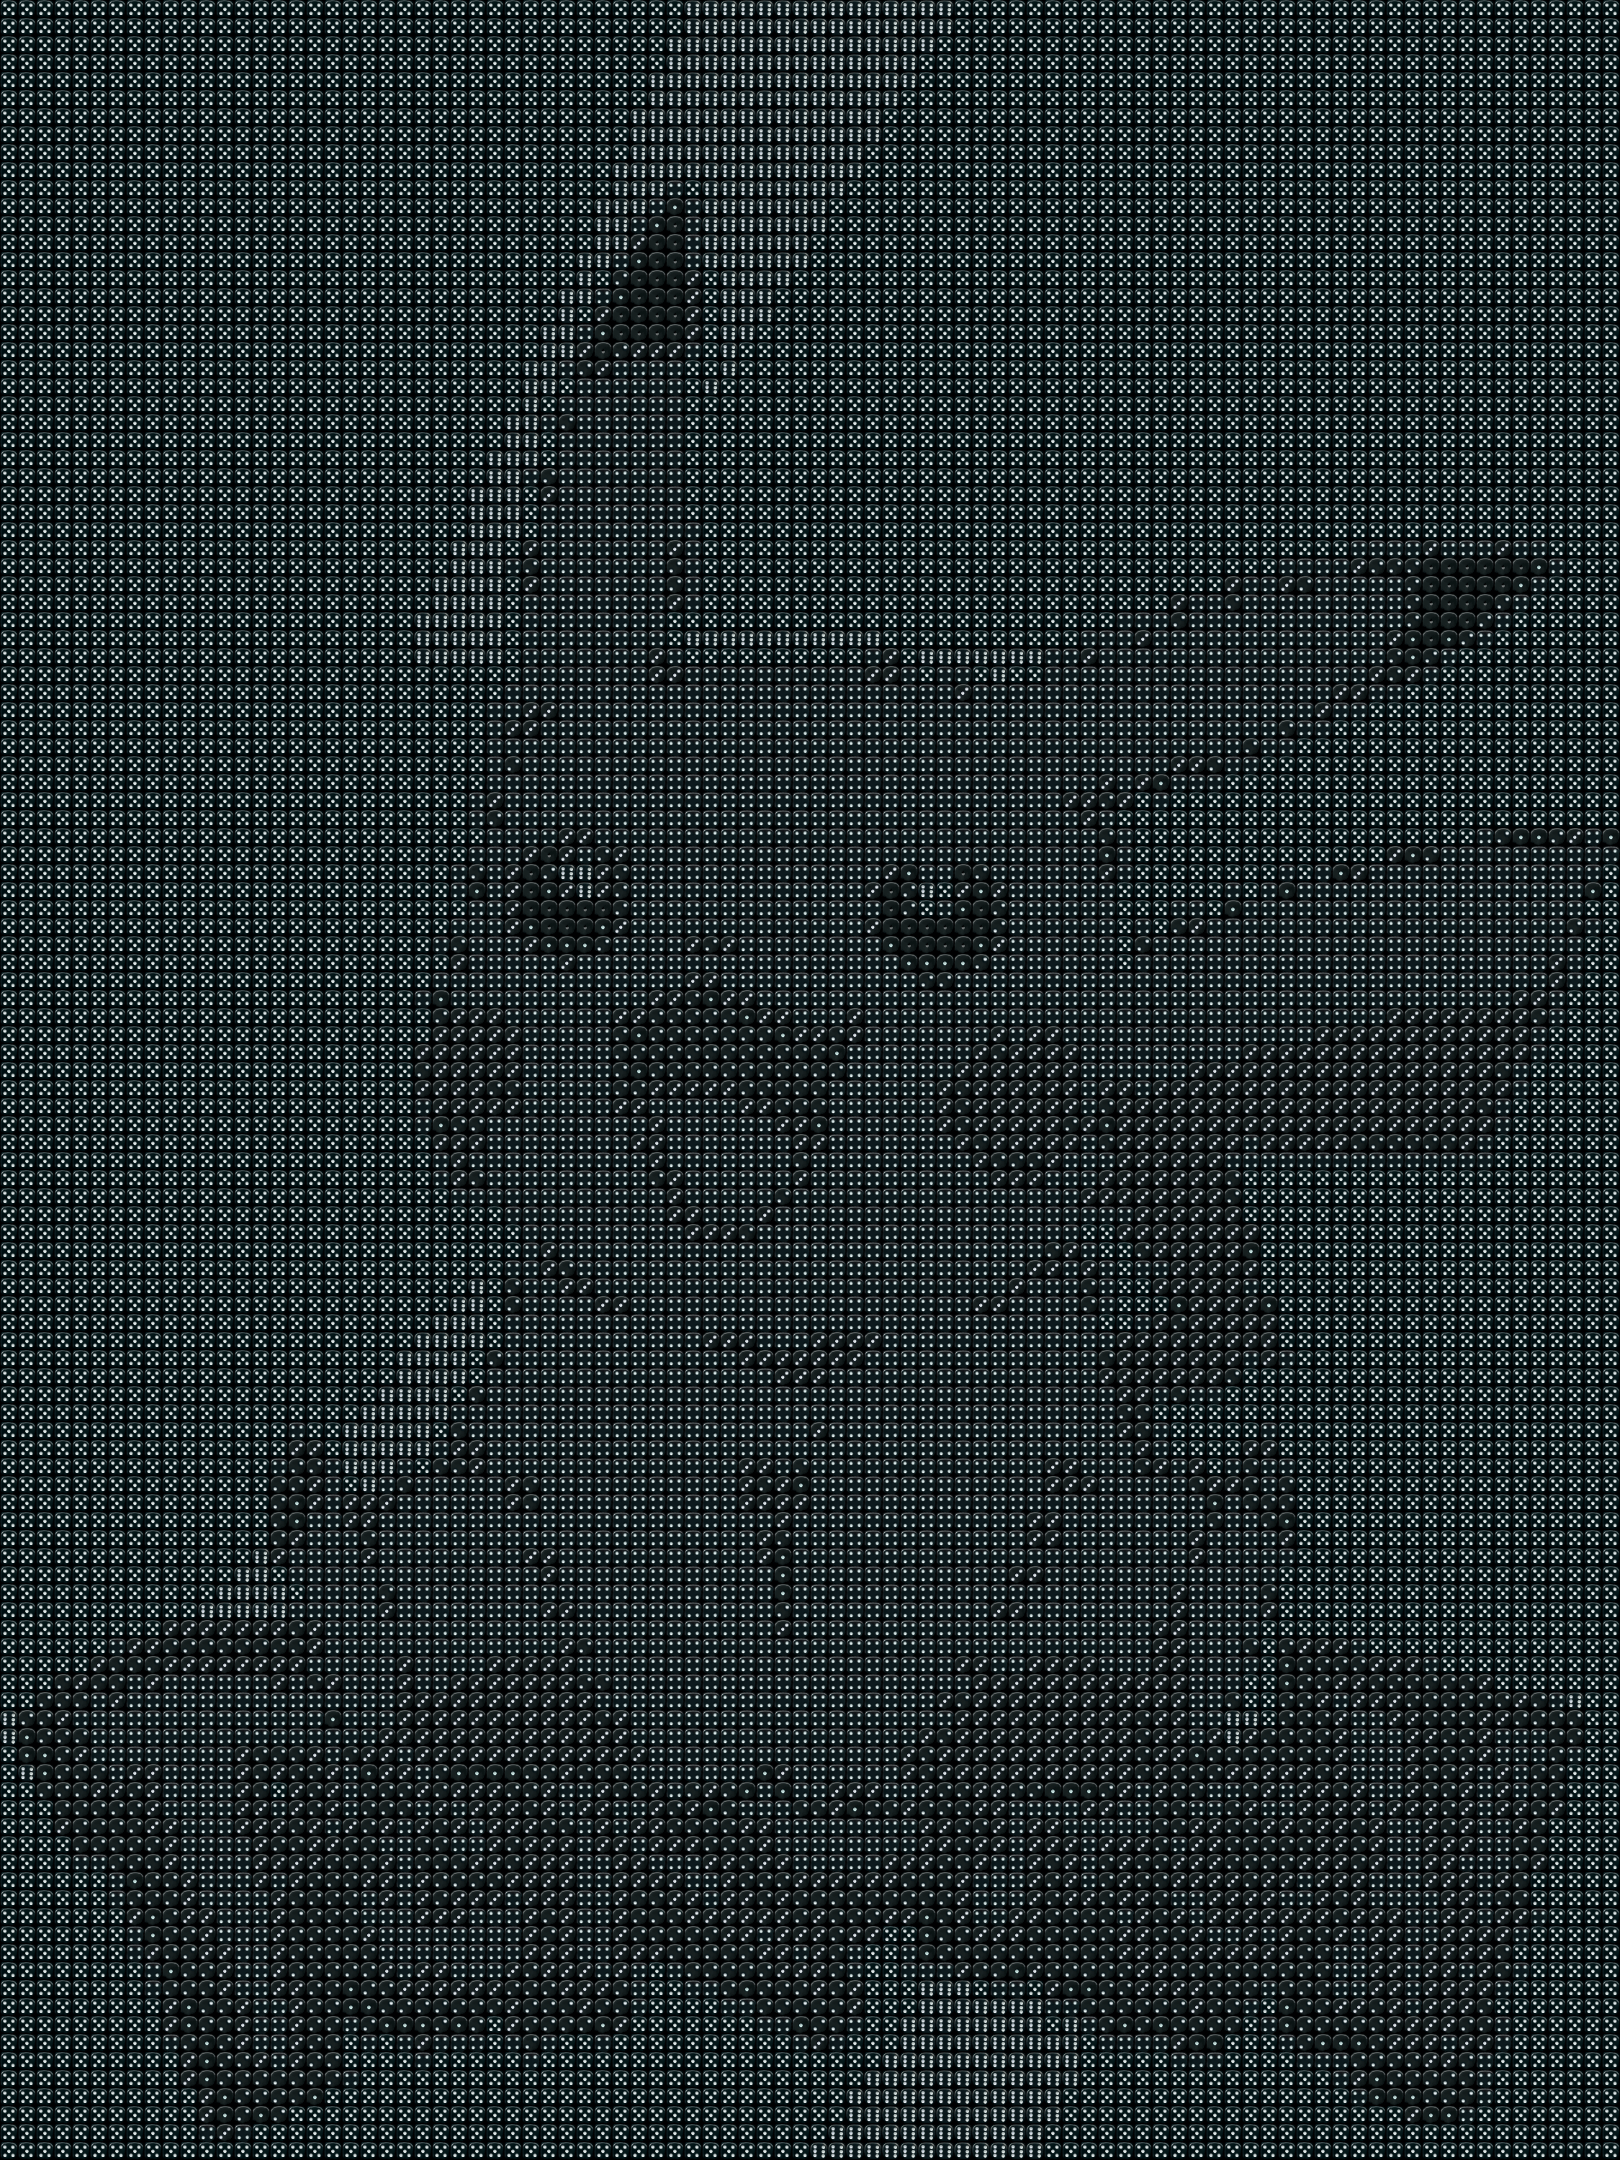
Capturing the beloved Pokémon mascot — the world's most recognized electric mouse in dice
Dice art isn't limited to portraits and paintings. Cartoon and IP characters — with their clean outlines and high tonal contrast — are often excellent first projects. Pikachu's silhouette is recognized globally, which means the finished piece reads clearly even at the Small size. Place it in a child's room, a gaming setup, or a desk, and it becomes an immediately conversation-starting handmade collectible.
- Dice required: 10,800
- Estimated time: ~15 hours
- Difficulty: 3/5
The barrier to dice art has never been technical — the Dice Art Generator handles all of that. What it asks from you is the one thing no algorithm can provide: the photo that's worth making permanent.
Open your camera roll. Find the image you always stop at for a second longer than everything else.